
Change product position in category in Magento 2 via import/export
Default import/export method does not allow to change product position in category in Magento 2 using CSV file. It is possible to do it manually for each category in Products-> Categories -> Products in Category -> set position ‘from’ and ‘to’. This approach is helpful and easy when you have a few products per category. In case you have large inventory, manually sorting options in category manually may be cumbersome. Especially, taking into account that default sorting allows up to see 200 per page. If you have more products, you need to switch between the pages.
Instead of this, we offer you a quick way to change product position in category in Magento 2 using import/export functionality available in Store Manager for Magento application. In this tutorial will be demonstrated how to update sort order of products within the category in bulk, having in file only 2 fields: identifier (SKU, ID, EAN etc) and position.
Download 14-day version free to try it out!
Download FreeGet CSV Prepared for Product Positioning
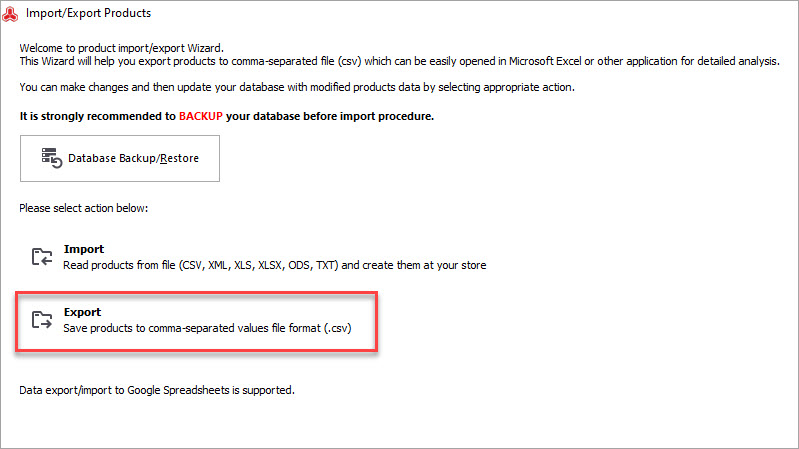
It is the initial step of the procedure. The easiest way to get CSV with product data is export.
- Launch Product Import/Export and select ‘Export’.
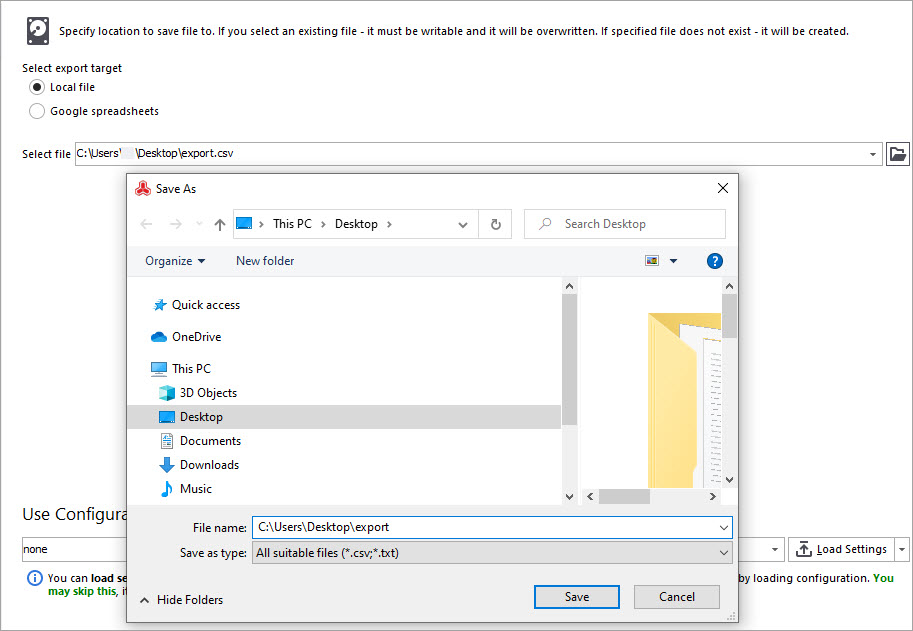
- Choose directory where exported file will be saved on your PC.
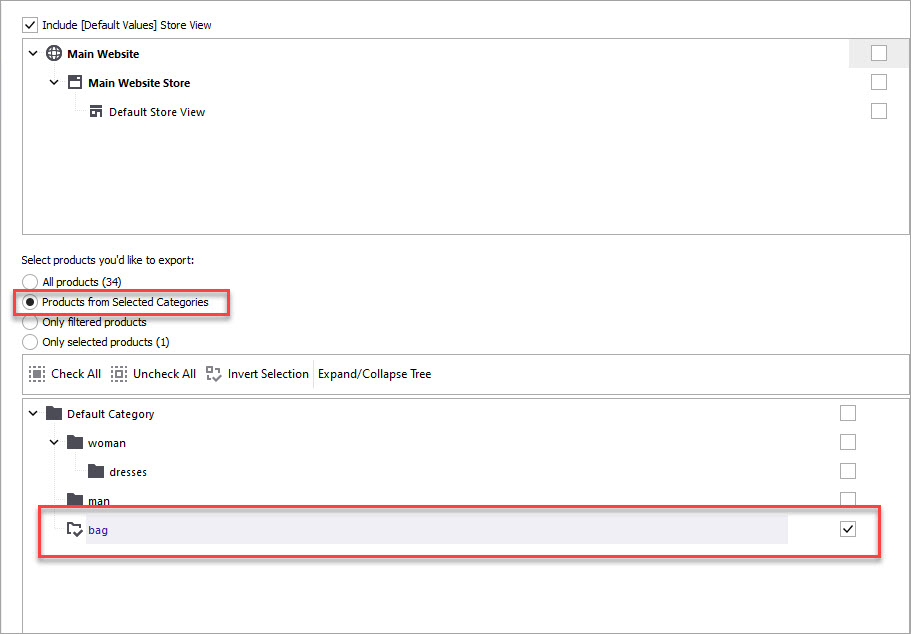
- If prior to export you have filtered or selected the products to be brought to CSV, indicate corresponding option at this step. Otherwise check option so that all goods to be exported.
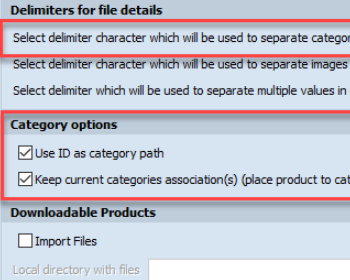
- At the next step you can change column and information delimiters if you have some specific configuration or leave everything as it here and proceed next.
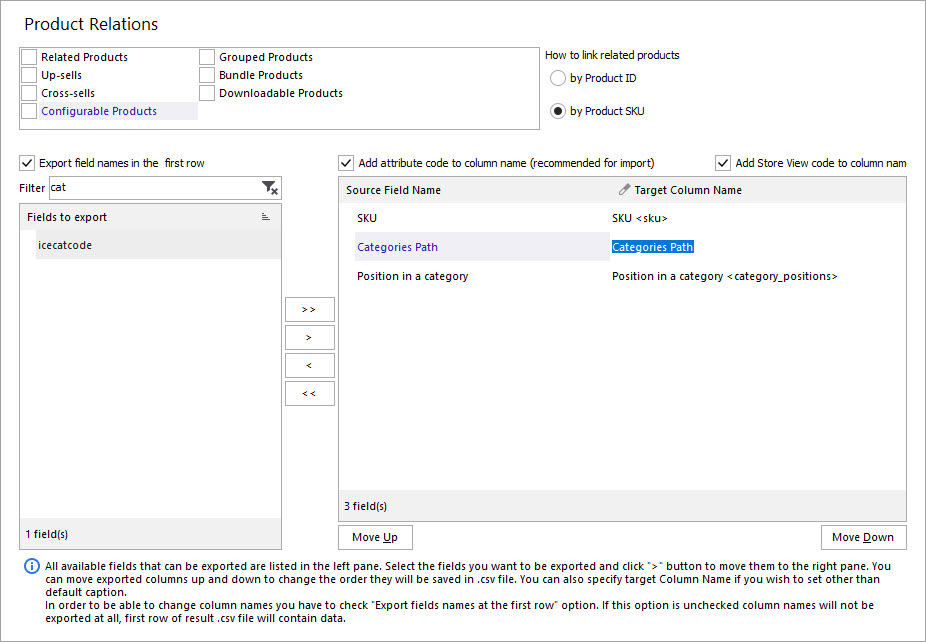
- Select fields to export by simply dragging and dropping necessary ones from the left pane to the right or use navigation buttons in the middle. Basically you need 2 fields: identifier (ID, SKU, EAN code or any other unique value) and ‘Position in a category’.
- Preview result and hit ‘Finish’. You can use the option to open CSV right after procedure to continue with its editing.


Use Import to Change Product Position in Category in Magento 2
Now when you have CSV file with necessary data generated, you can simply make changes in the position column and re-import the file again.

Run Import/Export -> Import and proceed with the following actions:
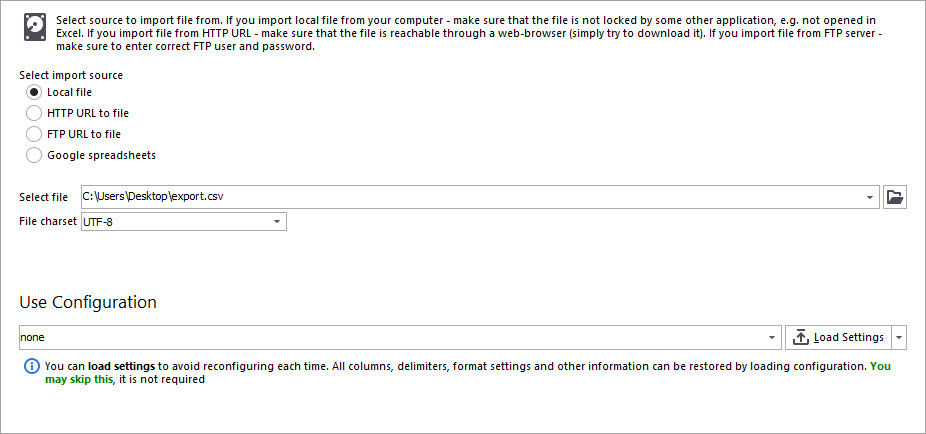
- Select file with changes to be applied.
- Preview it and make sure that the data are displayed correctly.
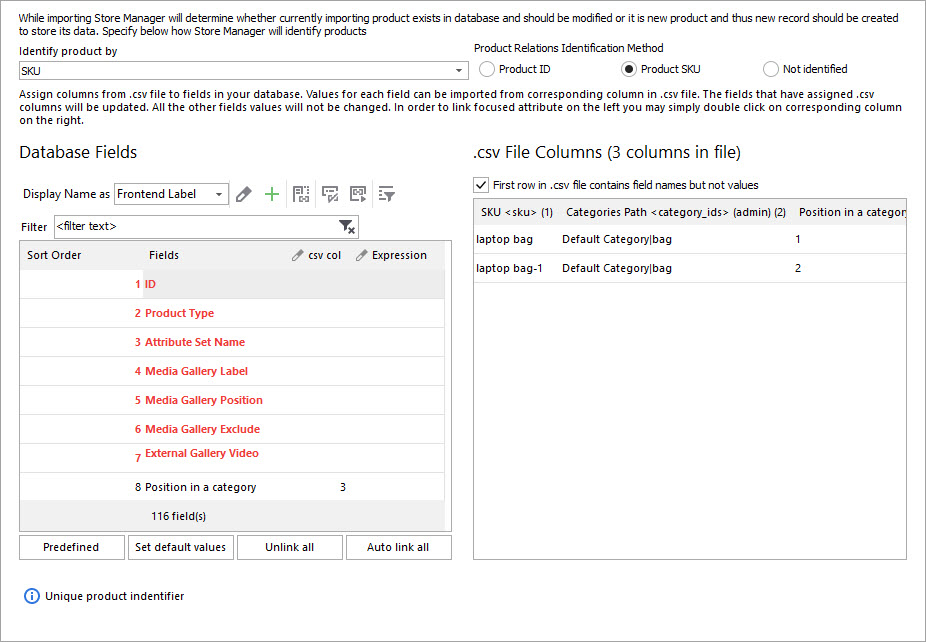
- If you have not made edits to column headers, they should be automatically mapped to database fields.
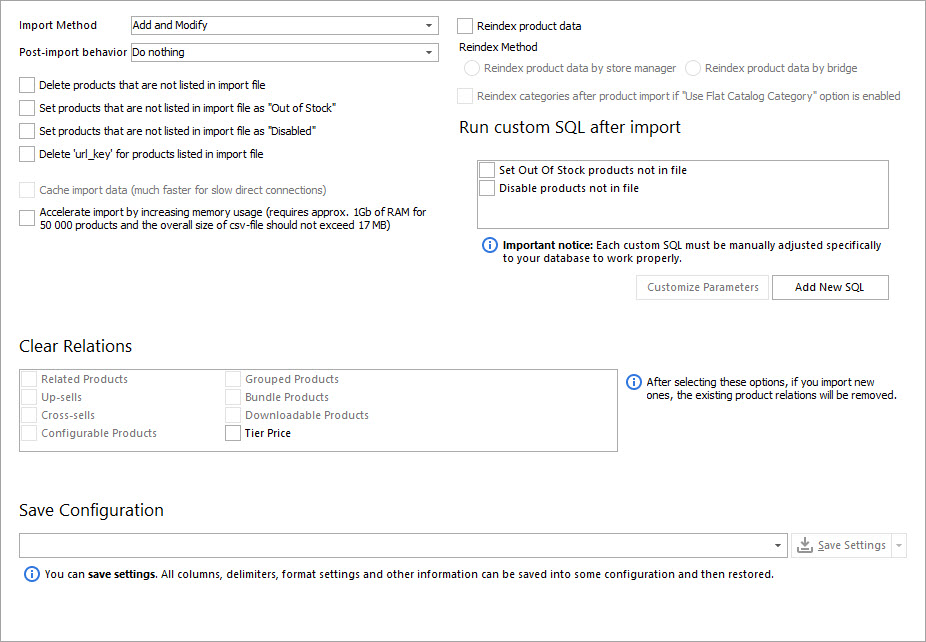
- Select import method to add new products with set positions or update existing ones and hit ‘Import’.

If you are importing position, let’s say together with new product data in suppliers file you can link necessary fields yourself.
Here you go! Store Manager for Magento extends functionality offered by default Magento.
Update Magento 2 Product Positions Massively Using CSV!
Try Now
Related Articles:
Assign Products to Categories by IDs
Configure Magento 2 import file to assign products to categories by category IDs. Read More...
Set Multi-Lingual Category Tree in Magento 2
Find out how to translate category data from the back-end or via Store Manager using the import tool. Read More...
Magento 2: Editing Product Type
Check what possibilities of product type change are available in Store Manager. Read More...
Magento 2 Custom Options
Find out how to quickly create custom options or modify current ones; check the way to easily import custom options. Read More...
COMMENTS